Assembly the shower enclosure according to the attached installation instructions. If you did not receive the instructions in a box, immediately contact the office of the company AQUATEK, from where the relevant installation instructions will be subsequently sent to you by e-mail or by fax. Without the installation instructions do not continue installation under any circumstances. In case of any problems during installation, contact the office of the company AQUATEK, where we will be happy to provide you information about the proper procedure of installation. In such case keep the relevant product manual, pen and paper at hand.
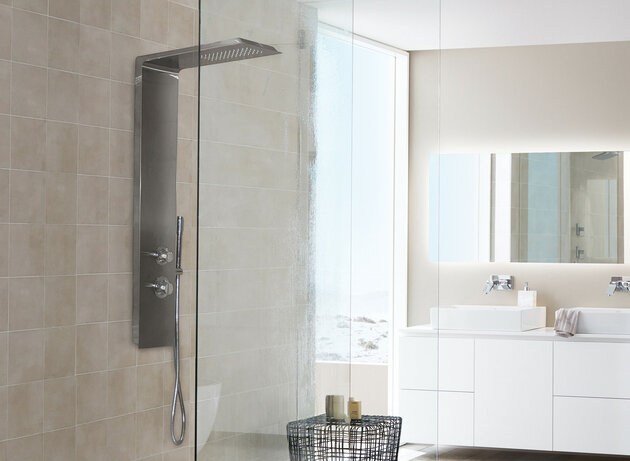
The shower enclosure shall always be assembled in a dry manner, without using silicone (except for rare cases, where it is necessary to paste some parts, because they can not be drilled). If the shower enclosure is assembled, only after finishing the assembly proceed with sealing of the shower enclosure. Every shower enclosure from the company AQUATEK is sealed with silicone only from outside. Sealing with silicone from inside is forbidden, because you can stop the smooth flow of water flowing down between the profiles and thus the water does not get into the shower tray, but starts to accumulate in the profiles and overflowing in places, such as the place of connection of glass and sealing on the solid parts of the shower enclosures with frames, on one side and on the other side of the shower enclosure may occur. For sealing of the shower enclosure, use transparent sanitary silicone and apply it to all places, where the overflow might occur, but only from the outside (e.g. the place of connection of the lower guiding profile with the vertical U-profile on the wall + in the place, where the chrome-coated cover for connecting of the above-mentioned profiles is located).
When installing the shower enclosure, the underground under the shower enclosure has to be in a spirit level. (shower tray, brick wall, floor). If this underground surface is not even, never adapt the shower enclosure to the above-mentioned underground surface, but fit it in one level and in spirit level and support it. The upper and lower guiding profiles in the shower enclosures with frames must be in a spirit level and must be equally distanced from each other around the whole perimeter of the shower enclosure, so that the doors are perfectly fitted and their movement and tightness are not limited.
When fitting the hinges on the glass, all parts have to be degreased (hinges, sealings, places for holding the glass and the glass itself), to prevent the sagging of hinges and then lock the parts back.
The shower enclosures must be greased after finishing of the installation. The hinges, which open the doors, are greased, the upper and lower guiding profiles at the sliding doors are greased.This action is repeated periodically, when you feel a worse opening or closing of the doors. Silicone oil or Teflon grease is used for greasing.